25 Apr 2025
Post by Seraphiel
Introduction
Gaming enthusiasts often find themselves tweaking settings to get the most out of their devices. MacBook users who play Project Zomboid know that optimizing RAM allocation can significantly enhance gameplay. This guide will walk you through the importance of RAM, how to verify your MacBook’s RAM specs, and the steps to allocate RAM specifically for Project Zomboid, ensuring a smoother and more enjoyable gaming experience.
Understanding the Importance of RAM for Gaming
Random Access Memory (RAM) plays a vital role in the performance of any computer, particularly in gaming. It allows the system to store and quickly access data that active applications require. For games like Project Zomboid, which have detailed graphics and complex simulations, sufficient RAM ensures smooth operations and reduces lag. Without adequate RAM, you may experience stutters, slower load times, and an overall degraded gaming experience. Modern games demand a significant amount of memory to handle textures, in-game assets, and real-time processing. Allocating more RAM to Project Zomboid can offload some of this burden, allowing the game to run more efficiently. This keeps frame rates stable and supports better graphics rendering. Thus, understanding and optimizing your MacBook’s RAM allocation can make a big difference in your gaming sessions.

Checking Your MacBook’s RAM Specifications
Before diving into the RAM allocation process, it’s essential to know the current specifications of your MacBook. Follow these steps: 1. Click on the Apple icon in the top-left corner of your screen. 2. Select ‘About This Mac.’ 3. Under the ‘Overview’ tab, you’ll see the total amount of RAM installed. Knowing these details helps in determining how much RAM you can realistically allocate to Project Zomboid without impacting other system functions.
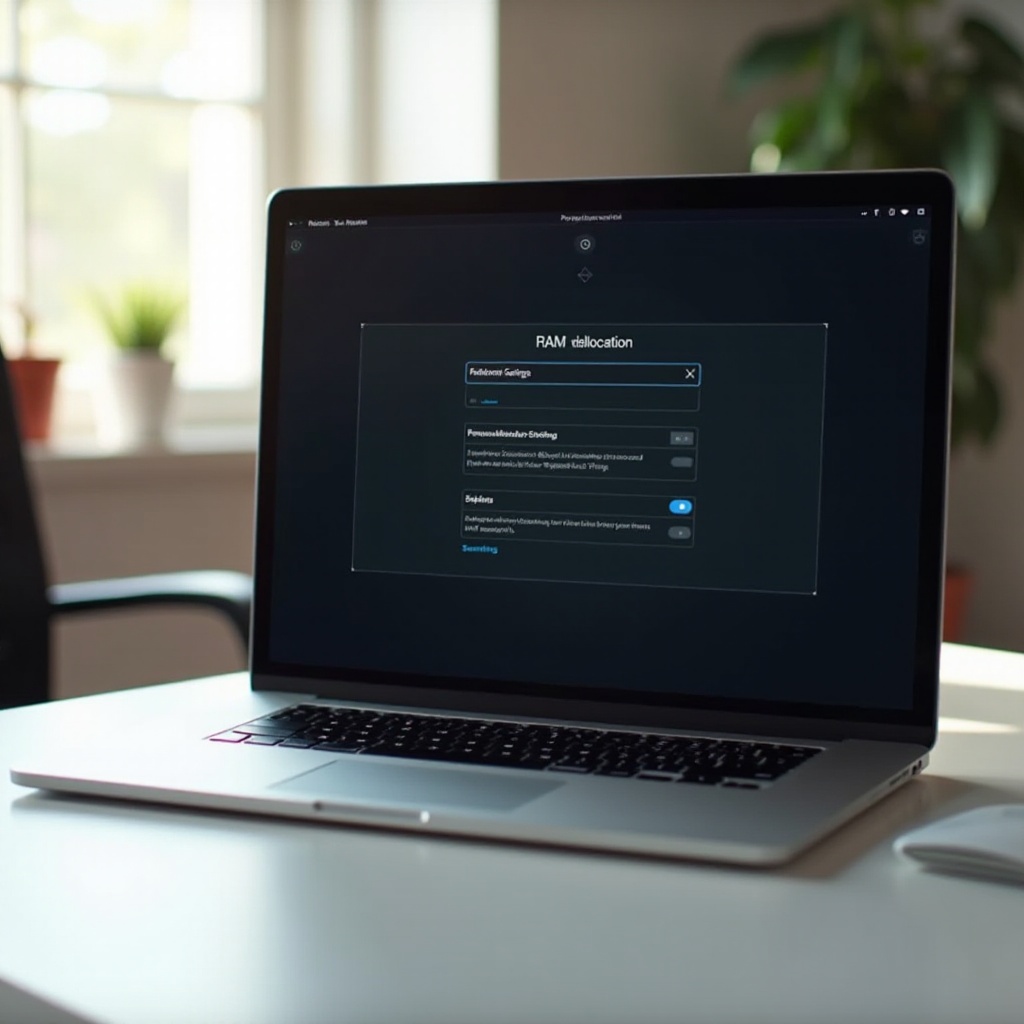
Steps to Allocate RAM to Project Zomboid
Allocating RAM to Project Zomboid involves several steps, from preparing your MacBook to verifying the changes made. Let’s break it down.
Preparing Your MacBook
- Ensure you close all unnecessary applications to free up system resources. 2. Backup important files to avoid data loss during the process. 3. Update your macOS to the latest version for better performance and compatibility.
Using Terminal to Allocate RAM
To allocate more RAM specifically for Project Zomboid, follow these Terminal commands: 1. Open Terminal from the Applications > Utilities folder. 2. Enter the following command to start Java with a specified amount of RAM dedicated to Project Zomboid: bash java -Xms4G -Xmx4G -jar path/to/ProjectZomboid.jar In this example, 4G denotes 4 Gigabytes of RAM. Adjust this number according to your available RAM. Ensure you do not allocate more than 70-80% of your total RAM to avoid system instability.
Verifying the Changes
After executing the Terminal commands, it’s crucial to verify that the changes have taken effect: 1. Launch Project Zomboid and start playing. 2. Monitor the system performance and ensure there are noticeable improvements in gameplay. You can check the activity monitor (found in Applications > Utilities) to view how much RAM is currently being utilized by Project Zomboid.
Performance Testing After RAM Allocation
Once you’ve allocated RAM, it’s important to measure your MacBook’s performance to ensure that the changes have been beneficial.
Tools to Measure Gaming Performance
Several tools can help you gauge performance improvements: – Activity Monitor (built-in macOS tool): Monitor CPU and RAM usage. – Geekbench: A benchmarking tool that provides detailed performance metrics. – Novabench: Another benchmarking tool that evaluates system performance across various parameters.
Benchmarking the Improvements
Run the aforementioned tools before and after the RAM allocation to compare the metrics. Focus on frame rates, loading time, and overall responsiveness. Substantial improvements in these areas indicate successful RAM optimization for Project Zomboid.
Troubleshooting Common Issues
Sometimes even after following the steps correctly, you might face issues. Here’s how to handle common problems.
Dealing with Allocation Failures
If RAM allocation fails, revisit the Terminal steps and ensure the correct paths and commands are used. Re-check your MacBook’s available RAM and ensure you haven’t exceeded the maximum allocation limit.
Fixing Performance Drops
In some cases, you might notice performance drops despite allocating more RAM. This could happen due to background applications consuming resources. Ensure all non-essential applications are closed, and consider restarting your system to free up system memory.
Additional Optimization Tips
For an even smoother gameplay experience, consider these extra tips.
Closing Unnecessary Applications
Prior to launching Project Zomboid, close all browser tabs, email clients, and other non-critical applications. This frees up valuable RAM and CPU resources, ensuring better game performance.
Updating Software and Drivers
Ensure your macOS, graphics drivers, and the game are all updated to their latest versions. Developers frequently release updates that optimize performance and fix bugs.
Conclusion
Optimizing RAM allocation for Project Zomboid on your MacBook can significantly enhance your gaming experience. By following the steps outlined in this guide, you ensure that the game utilizes your system resources efficiently, allowing for smoother gameplay. Regular performance testing and additional optimization tips further guarantee a stable and enjoyable session every time you play.
Frequently Asked Questions
Can I allocate too much RAM to Project Zomboid?
Yes, allocating too much RAM can cause your system to become unstable as it may not leave enough memory for other processes and the macOS itself.
How can I tell if my MacBook needs a RAM upgrade?
If you experience frequent slowdowns and lag during regular use and gaming even after optimization, it might be time for a RAM upgrade.
Will allocating more RAM void my MacBook’s warranty?
No, adjusting software settings to allocate more RAM does not affect your MacBook’s warranty as long as no hardware modifications are made.